Sustainer Fin Cutting
The sustainer fins were cut from a 12"x12" piece of G10 fiberglass. The plan is to cut the 12" square into three strips 3.25"x12". Then I cut the strips in half on a diagonal, which is the leading edge of the fin. Next is to trim the trailing edge. I got 6 fins out of the 12" square.
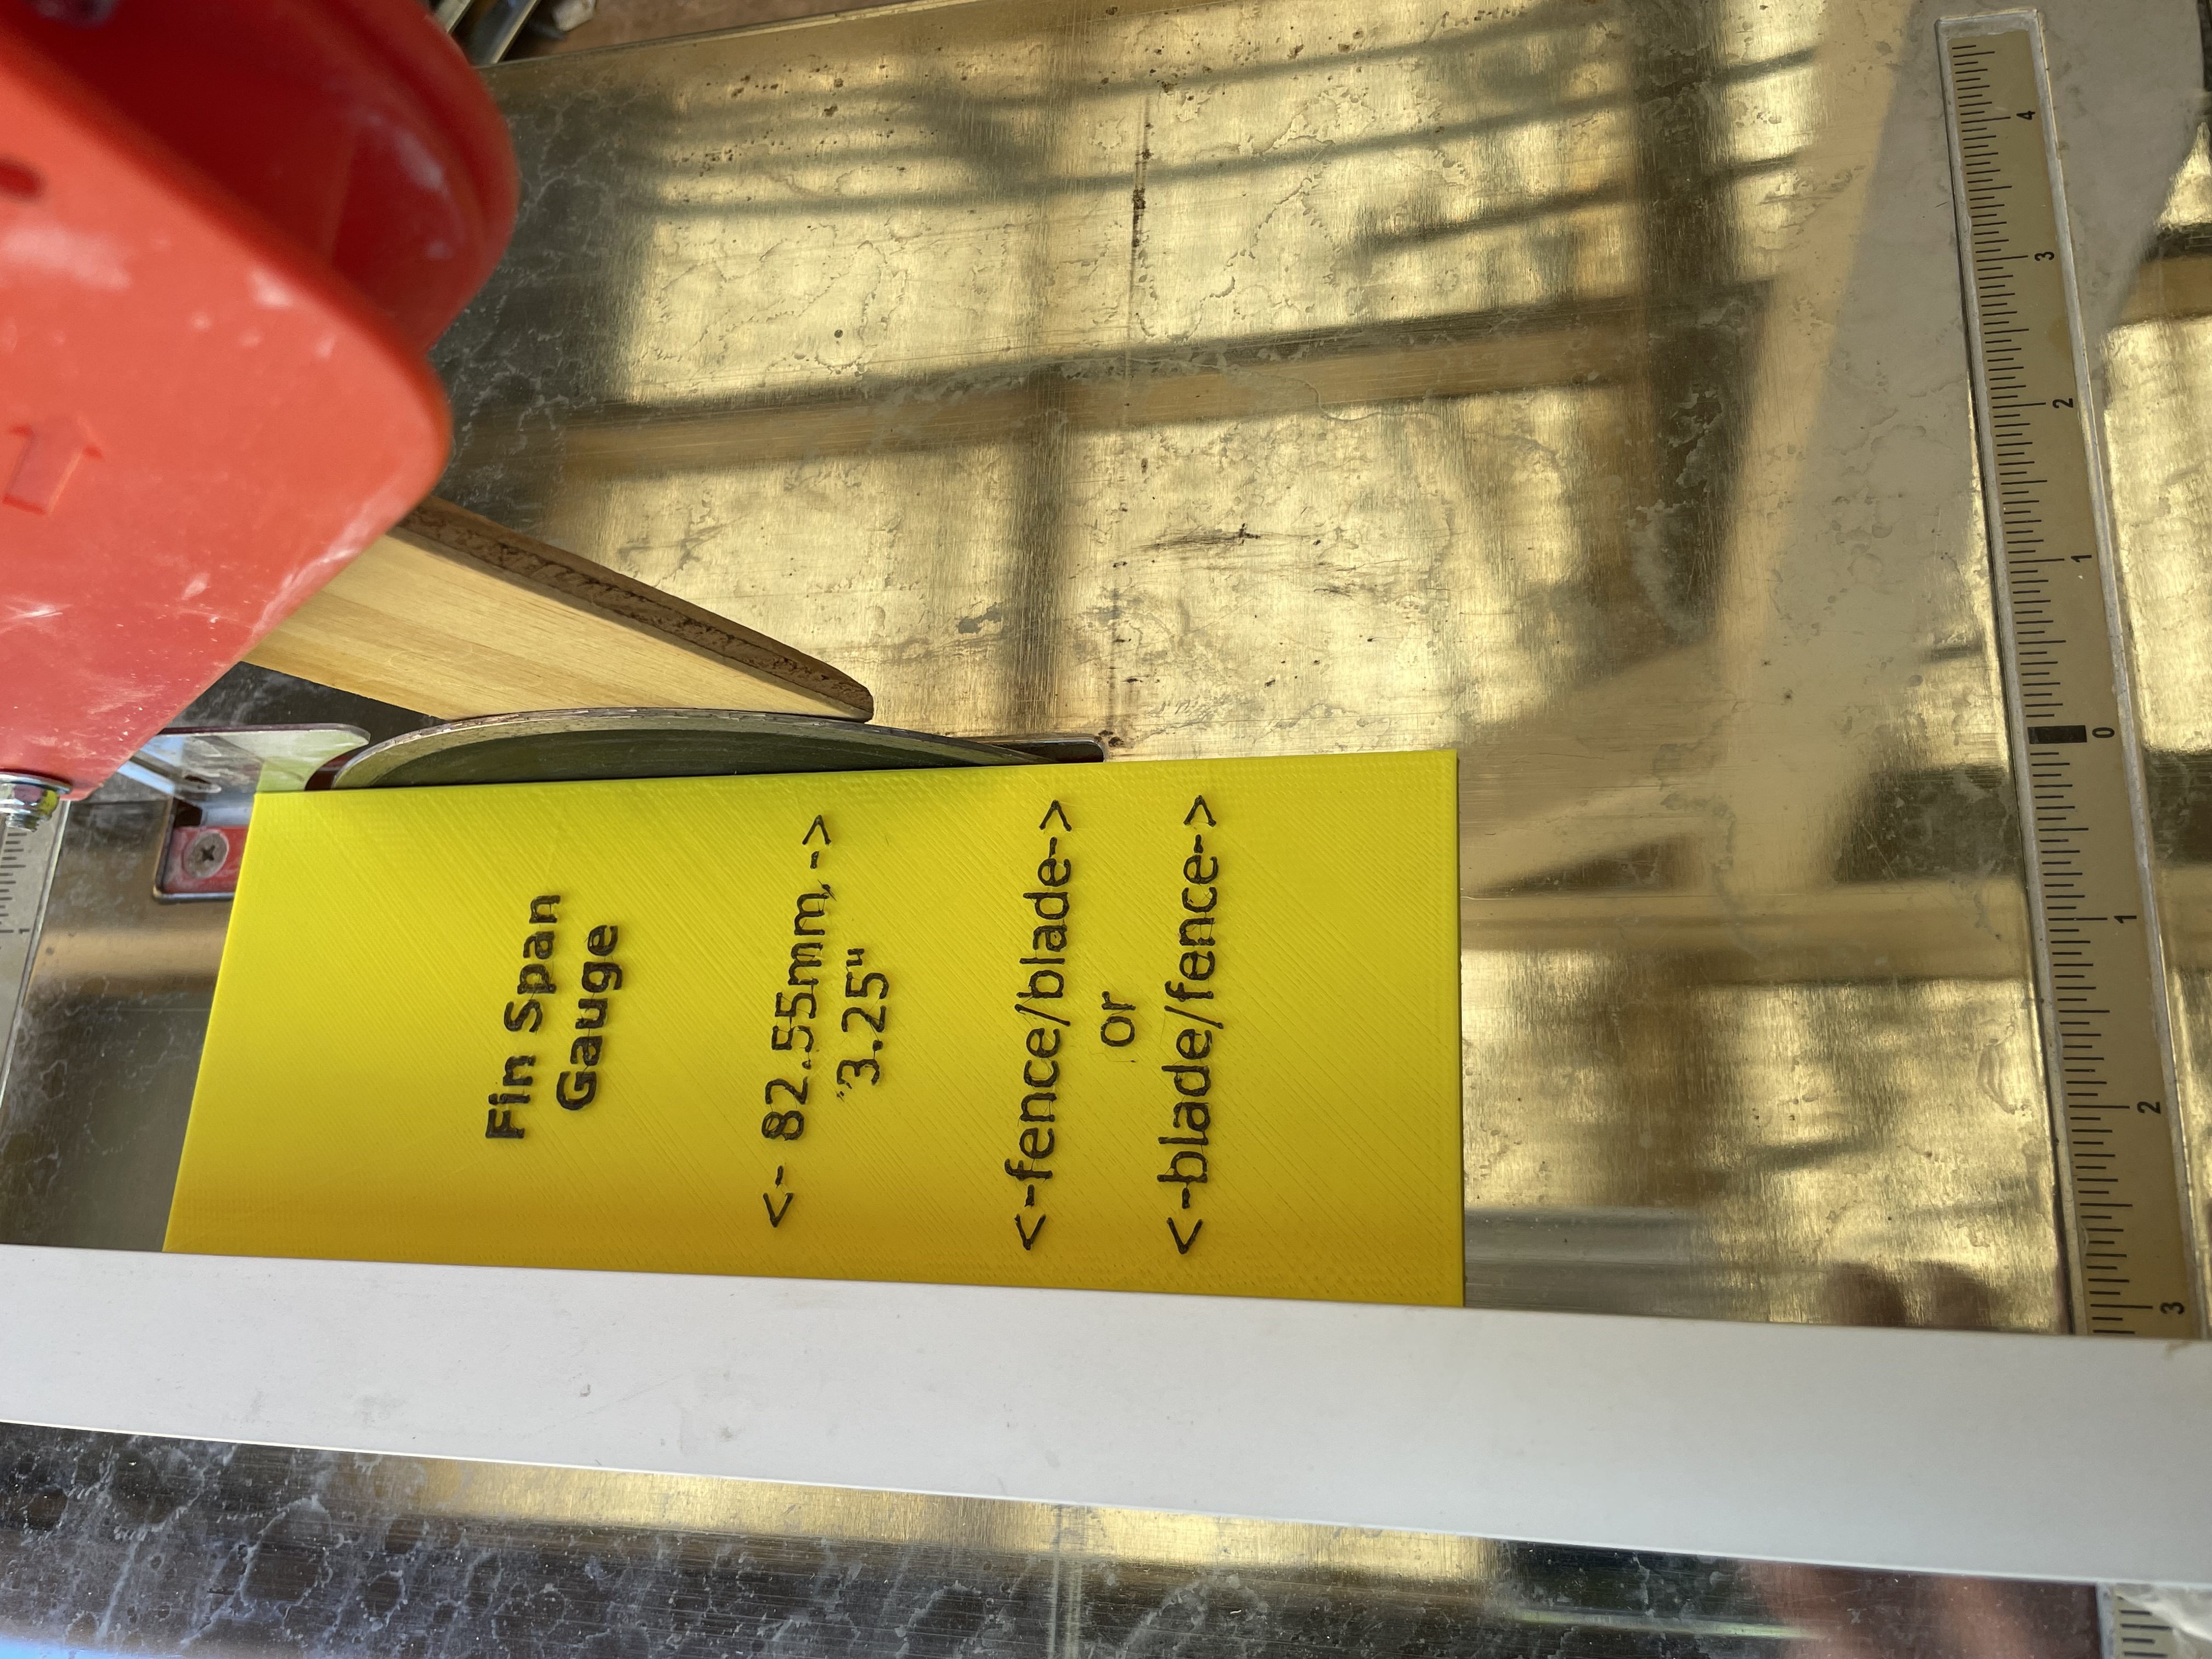
I created a few fin cutting guides/jigs on my 3D printer.
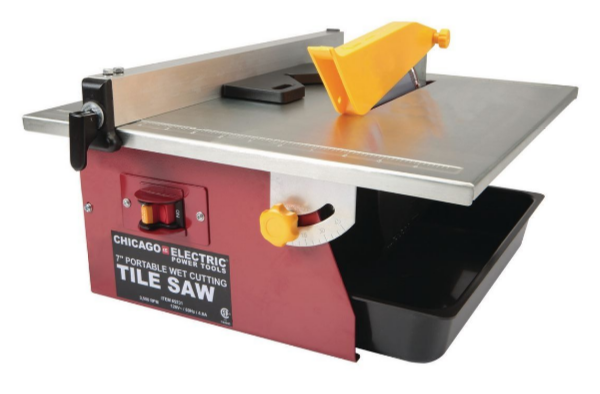
The saw I use is from Harbor Freight.
CHICAGO ELECTRIC POWER TOOLS
4.8 Amp 7 in. Table Top Wet Cut Tile Saw
SKU(s): 69231, 40315
The first jig sets the fence to the appropriate distance from the blade to cut 3 strips from the G10 square.


Cutting the leading edge.


Trimming the trailing edge.


Booster Fin Cutting
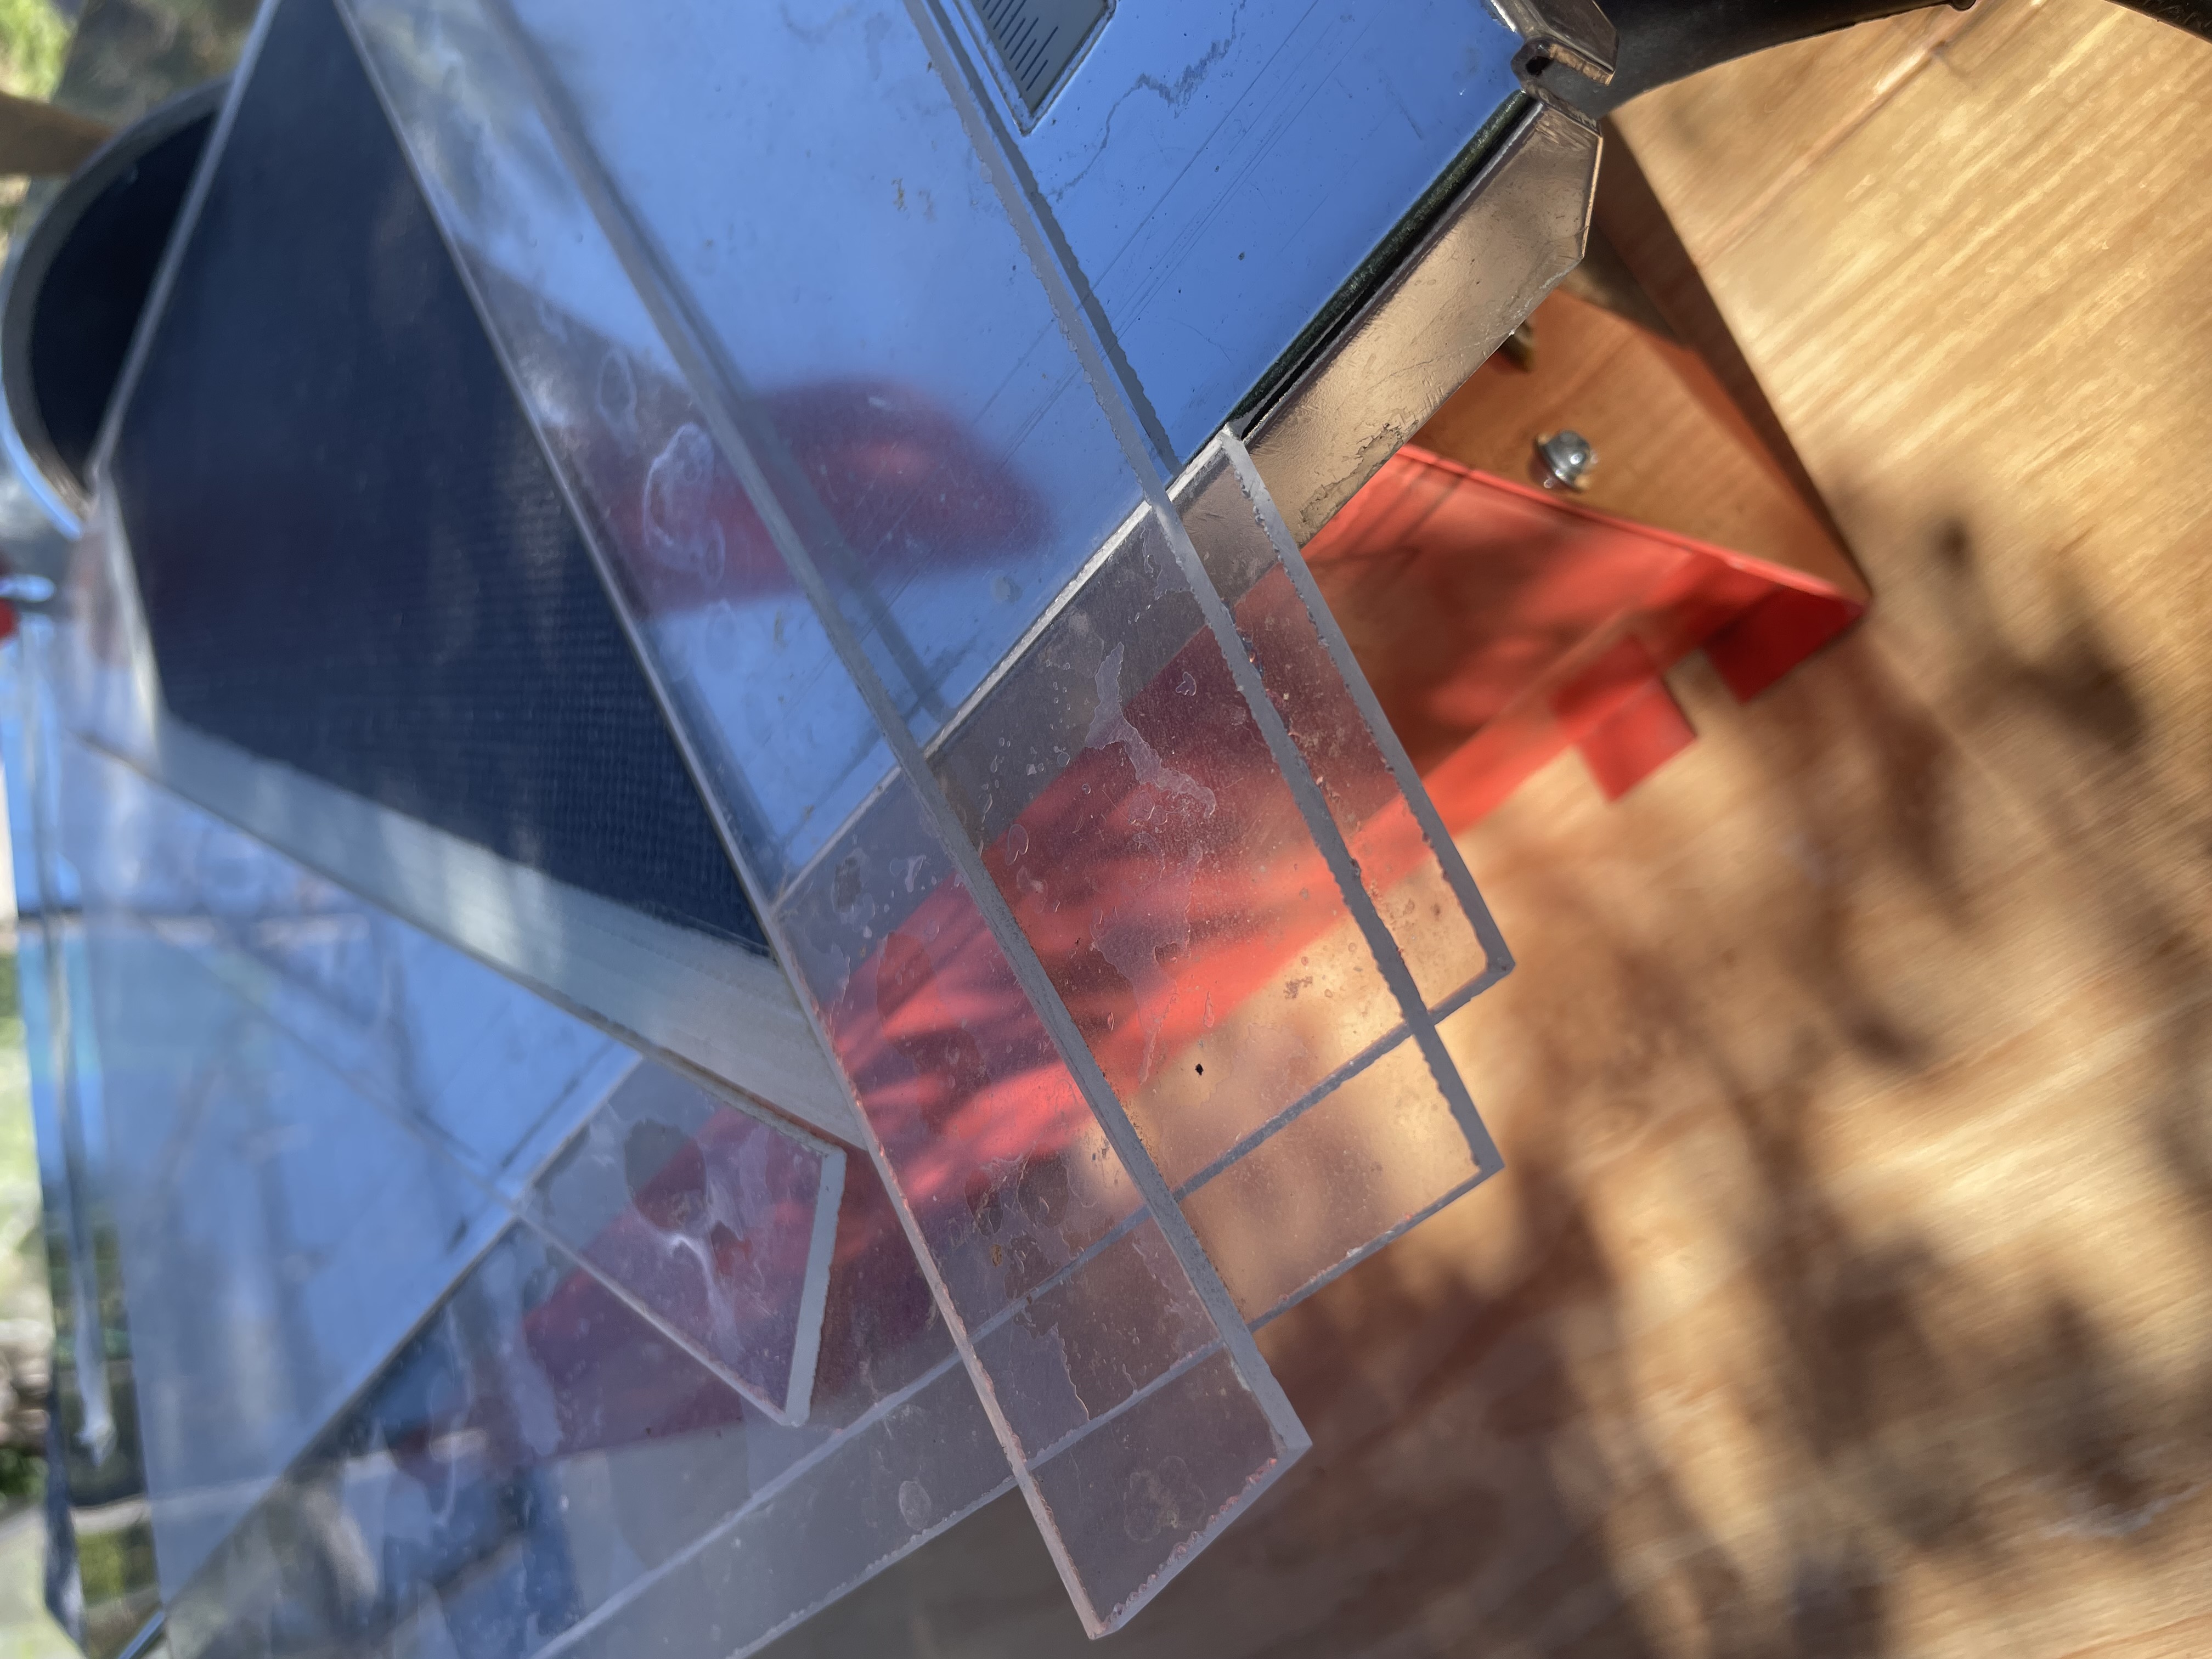
For the booster fins, I followed the same basic process as I did with the sustainer. I used two 12" squares of G10 to produce 4 fins. Basically I cut the squares in half then The jigs were too large to be printed on my 3D printer so I use 1/8" think acrylic plastic to create the jigs. Basically I used 12" plastic squares and glued plastic strips (using super glue) for alignment.
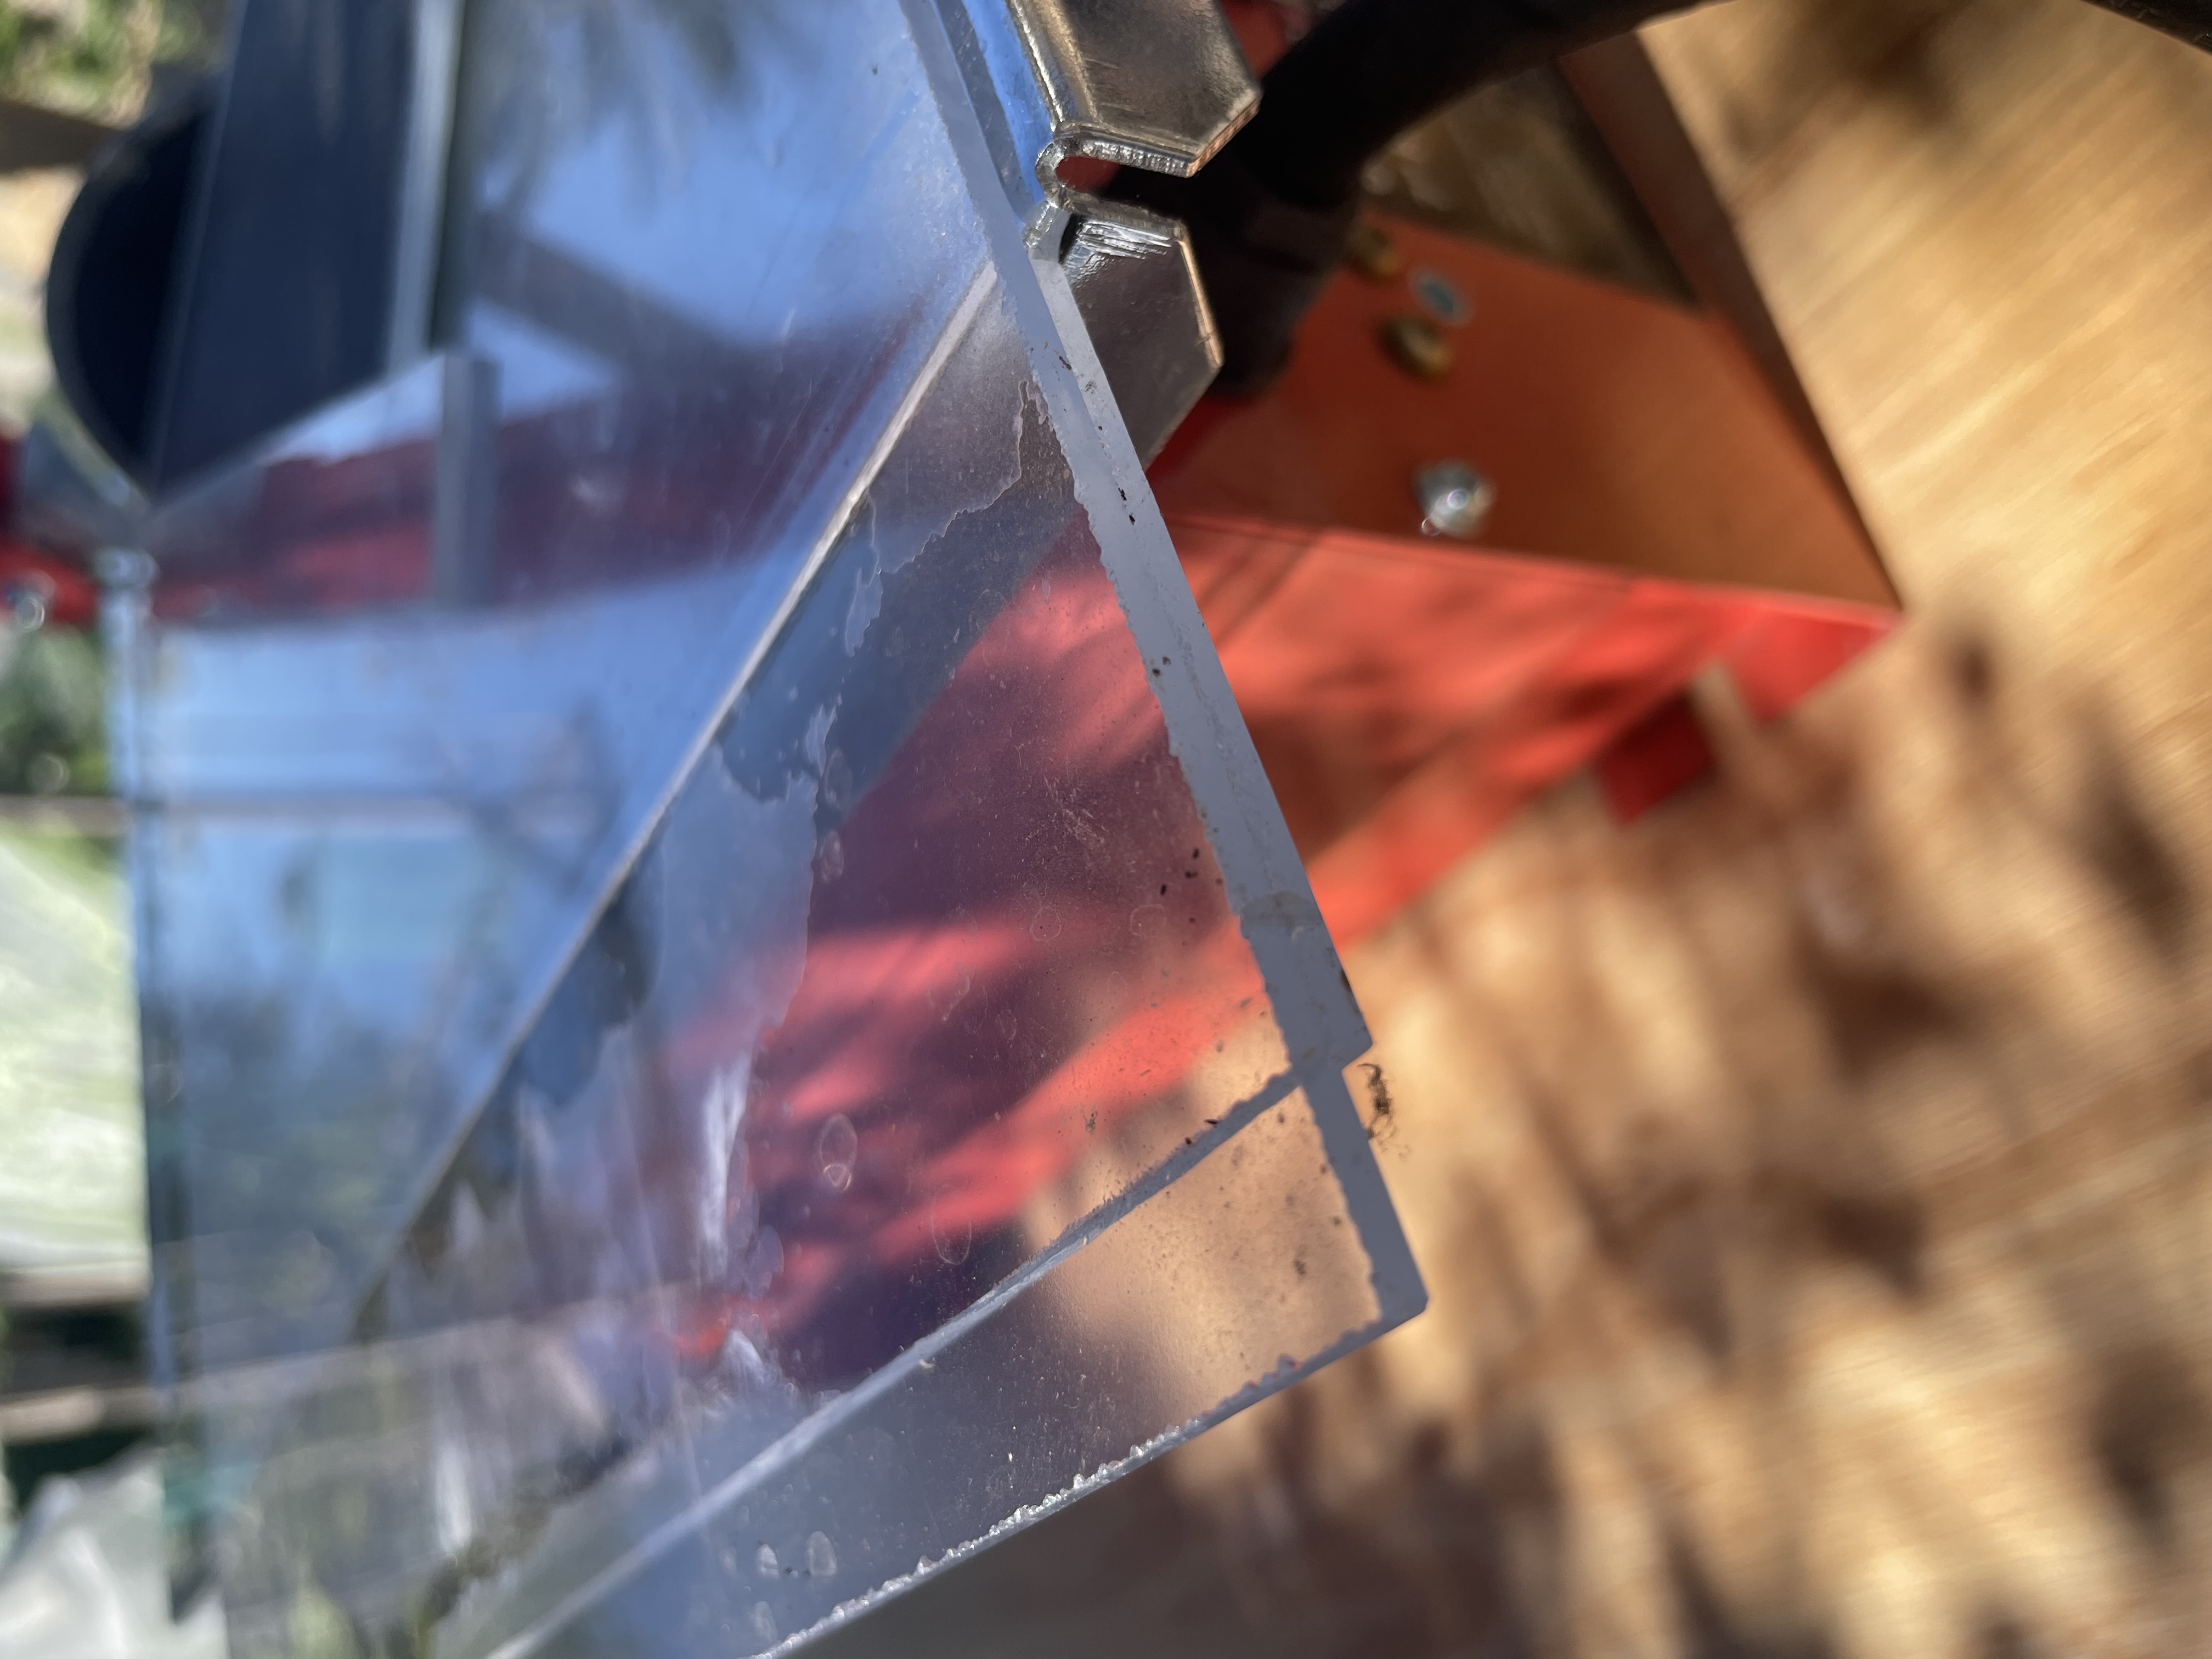
Unfortunately I didn't take any pictures of the fin cutting process. Here are some pictures I took afterwards to give an idea of the jigs.
First I set the fence to the fin span of 5.25" and cut the two 12" squares into four pieces.

I glued an acrylic strip to the underside of the larger acrylic square to run against the edge of the saw table top. Additional pieces were glued to the top to align the fin material to the correct angle.

Trailing edge setup.